

Ceiling Roof Leak Repair: 5 Expert Steps
That Drip is a Warning Sign
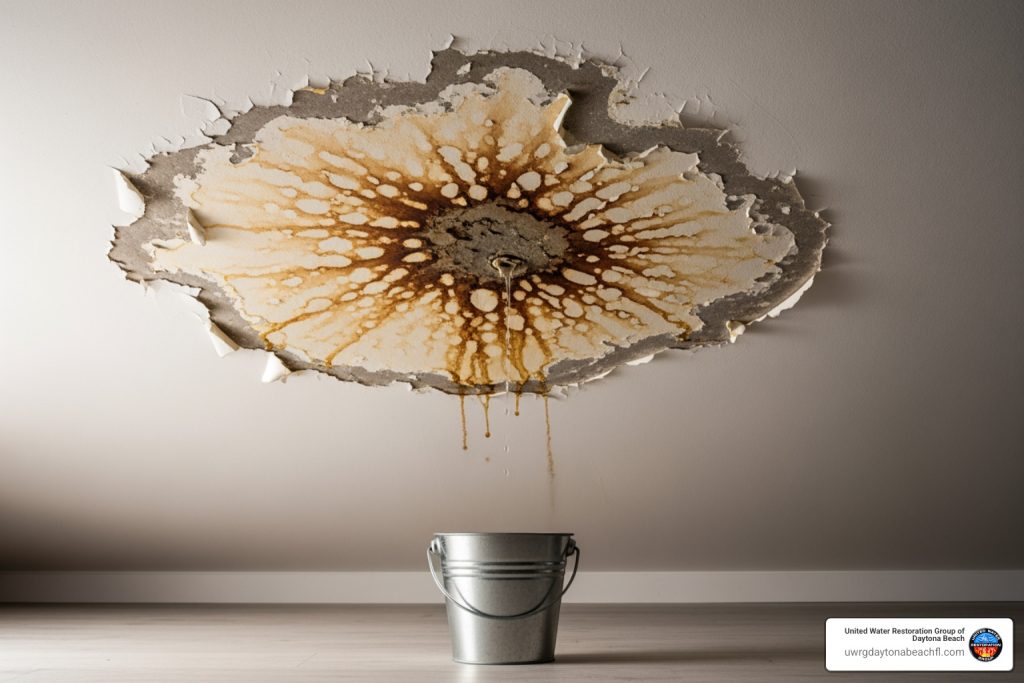
Ceiling roof leak repair is critical when you spot water stains, hear dripping sounds, notice peeling paint, or smell musty odors in your home. Here’s what to do immediately:
- Contain the leak – Place buckets under active drips and move furniture away from the affected area
- Document the damage – Take photos for insurance purposes before any cleanup
- Find the source – Check your attic and roof for visible signs of water intrusion
- Call a professional – Contact a certified restoration company for proper assessment and repair
- Address structural concerns – Have experts evaluate any sagging, mold growth, or compromised framing
That small drip you’re hearing isn’t just annoying—it’s a warning sign. Water travels in unpredictable ways through your ceiling, often showing up far from where it actually enters your roof. What starts as a minor stain can quickly escalate into major structural damage and dangerous mold growth if left unchecked. In Florida’s humid climate, especially in coastal areas like Daytona Beach, the combination of intense sun, tropical storms, and driving rain makes roofs particularly vulnerable to leaks that demand immediate attention.
The good news? Most ceiling damage from roof leaks is repairable when you act fast and follow the right steps. Whether you’re dealing with missing shingles after a storm, failed flashing around your chimney, or mysterious water stains that appeared overnight, understanding the repair process helps you protect your home and make informed decisions about when to DIY and when to call for backup. For severe water intrusion affecting multiple rooms or causing visible ceiling sag, professional ceiling water damage restoration becomes essential to prevent long-term structural issues.
I’m Norbert Vasko, and while my primary expertise is in digital marketing and content strategy, I’ve spent over 15 years creating educational content about home maintenance and emergency restoration services, including comprehensive guides on ceiling roof leak repair for property owners facing unexpected damage. This experience has given me deep insight into translating complex repair processes into clear, actionable steps that homeowners can understand and follow.

Step 1: Identifying the Leak’s Source and Common Causes
When water starts making its unwelcome appearance inside your home, the first crucial step in ceiling roof leak repair is to understand where it’s coming from. Water is a sneaky traveler, and the spot on your ceiling might be several feet away from where the actual leak originates on your roof. Our goal is to become detectives, following the clues to pinpoint the true source.
Spotting the Early Warning Signs
Early detection is your best defense against extensive damage. The sooner you spot the signs of a leak, the less severe the damage will likely be. Here’s what to look for:
- Water Stains and Discoloration: These are the most obvious culprits. Yellow or brown spots, circular marks, or dark patches on your ceilings or walls are classic indicators of water seeping through. These stains often expand over time, so drawing an outline with a pencil can help you track their growth.
- Bubbling or Peeling Paint: If the paint on your ceiling or walls starts to bubble, blister, or peel, it means moisture is trapped underneath. This is a clear sign that water is present.
- Sagging Drywall or Plaster: A ceiling that looks like it’s drooping or sagging indicates significant water saturation. This is a serious sign that the structural integrity of your ceiling might be compromised and could lead to a collapse if not addressed quickly.
- Musty Smells: Even without visible water, a persistent musty or damp odor, especially in the attic or a specific room, can signal hidden moisture and potential mold growth from a slow leak.
- Damp Spots: Feel around your ceiling and walls. Any areas that feel damp or spongy to the touch could indicate a leak.
- Dripping Noises: That soft, rhythmic drip-drip-drip sound, particularly during or after rain, is a dead giveaway. Listen closely, especially in quiet rooms or in the attic.
- Increased Energy Bills: An often-overlooked sign, a roof leak can compromise your attic insulation, leading to heat loss or gain. If your energy bills mysteriously climb, it might be worth checking for roof issues.
Pinpointing the Leak’s Origin
Once you’ve spotted a sign, the real detective work begins. Our aim is to trace the water’s path back to its entry point.
- Attic Inspection: Grab a flashlight and head into your attic. Look for water stains on the underside of the roof deck, on rafters, or on insulation. Water stains on the wood are often darker closer to the source. If the insulation is wet, it’s a strong indicator. Water often runs along rafters before dripping, so the stain on your ceiling might be several feet away from the actual roof breach. A moisture meter can be incredibly helpful here, as it can detect moisture levels in materials that might not appear wet to the naked eye.
- Roof Inspection (with caution!): If the attic inspection isn’t conclusive, or if you suspect the leak is directly from the roof, a visual inspection from the outside is necessary. Safety first! Use a tall, stable ladder and, if possible, have a helper steady it for you. Look for obvious signs of damage (which we’ll discuss next). If you still can’t find it, a controlled water test can be performed. Have a helper inside the attic watch for drips while you systematically soak sections of the roof with a garden hose, starting low and working your way up. This can help pinpoint the exact entry point.
- Checking Penetrations: Projections or penetrations through your roof are prime suspects for leaks. These include:
- Vents: Plumbing vents, attic vents, and exhaust vents often have rubber gaskets or flashing that can crack, rot, or become dislodged over time.
- Chimneys: The flashing around chimneys is a common failure point. Check for cracks in the flashing or mortar.
- Skylights: Seals around skylights can deteriorate, leading to leaks.
- Old Mounting Holes: Previous satellite dishes, antennas, or other roof-mounted items might have left behind poorly sealed holes that are now letting water in.
Common Causes of Roof Leaks
Understanding the common culprits behind roof leaks can help you narrow down your search and anticipate repairs.

- Damaged or Missing Shingles: This is perhaps the most frequent cause. Strong winds, age, or hail can crack, curl, or completely dislodge asphalt shingles, leaving the underlayment exposed. Look for shingles that are out of place, have visible cracks, or are missing granules (which you might find accumulating in your gutters).
- Cracked or Damaged Flashing: Flashing refers to thin pieces of metal (or sometimes plastic) installed around roof features like chimneys, skylights, vents, and along walls that intersect the roof. Its purpose is to create a watertight seal. Over time, flashing can corrode, become bent, crack due to expansion and contraction, or simply pull away, allowing water to seep underneath.
- Storm Damage: Living in Florida, we’re all too familiar with the impact of hurricanes and tropical storms. High winds can rip off shingles, send debris crashing onto the roof, or cause structural damage that creates immediate leaks. Hail can also cause significant, often subtle, damage to shingles.
- Clogged Gutters and Downspouts: While not a direct roof leak, clogged gutters can cause water to back up and overflow, pooling against the roof’s edge or siding. This standing water can then seep under shingles or behind fascia boards, eventually finding its way into your home. In colder climates, this leads to ice dams, but in Florida, it’s more about sheer volume and constant saturation.
- Damaged Vent Boots: The rubber or plastic boot that seals around plumbing vent pipes can crack and deteriorate from sun exposure, creating an easy entry point for water.
- Old Age and Wear and Tear: Even the best roofs don’t last forever. Asphalt shingles typically last 15-25 years. As a roof ages, materials become brittle, seals weaken, and the entire system becomes more susceptible to leaks.
- Improper Installation: Sometimes, leaks are a result of shortcuts or mistakes made during the initial roof installation or previous repairs. Improperly installed shingles, flashing, or underlayment can fail prematurely, leading to leaks.
Step 2: When to Call a Professional for Ceiling Roof Leak Repair
While the urge to tackle a ceiling roof leak repair yourself might be strong, especially with the abundance of DIY guides available, it’s crucial to know when to step back and call in the experts. Attempting complex roof repairs without the right knowledge, tools, or safety measures can lead to more significant damage, personal injury, and even voided warranties.
For general background on how roofs are built and where they commonly fail, you can also review this overview of roof construction and components as context for understanding your leak.
Why Professional Help is Essential
- Accurate Leak Detection: As we discussed, water travels. A professional has the experience and specialized tools, like infrared moisture detectors and attic scans, to pinpoint the exact source of a leak, even when it’s hidden behind walls or deep within the roof structure. This precision prevents endless guesswork and ensures the repair targets the actual problem.
- Preventing Further Damage: An incorrect DIY fix might temporarily stop a drip, but it could mask the true issue, allowing water to continue its destructive path unseen. Professionals address the root cause, preventing long-term issues like wood rot, mold growth, and compromised structural integrity.
- Ensuring Safety: Roof work is inherently dangerous. Falls from ladders or rooftops are a leading cause of emergency room visits. Our roofs in Florida can be steep, high, and often wet or slippery due to rain or humidity. Professionals have the proper safety gear, training, and techniques to work safely at heights, minimizing risks to themselves and your property.
- Protecting Warranties: Many roofing material warranties can be voided if repairs are not performed by a certified or licensed professional. Attempting DIY repairs could cost you valuable coverage down the line.
- Insurance Claim Support: Dealing with insurance companies after a leak can be a headache. A professional restoration company, like United Water Restoration Group of Daytona Beach, can provide detailed assessments, documentation, and work closely with your insurance provider to streamline the claims process. We can help steer the complexities of insurance claims, ensuring you get the coverage you deserve.
- Addressing Multiple or Recurring Leaks: If you’re experiencing more than one leak, or if a leak keeps coming back after you’ve tried to fix it, it’s a sign of a deeper issue that requires expert diagnosis.
- Handling Visible Mold or Structural Issues: If you see visible mold growth, or if your ceiling is sagging significantly, it indicates a serious problem that goes beyond a simple patch. These situations demand professional assessment to ensure proper remediation and structural reinforcement.
When faced with a roof leak, consider these factors before deciding on a course of action:
| Factor | DIY Approach (Risks) | Professional Approach (Benefits) |
|---|---|---|
| Cost | May seem cheaper upfront, but incorrect repairs can lead to repeated issues, more extensive damage, and higher long-term costs. | Targeted repairs address the root cause, often saving money over time by preventing additional damage and repeat work. |
| Time | Requires research, multiple trips to the store, and trial-and-error troubleshooting. Leaks may persist while you experiment. | Experienced technicians quickly diagnose and repair leaks, minimizing disruption and reducing the time your home is exposed to water damage. |
| Safety | Working at heights without proper gear increases the risk of falls and injuries; electrical hazards and unstable surfaces can be overlooked. | Trained crews use professional safety equipment and follow strict protocols, reducing the risk of accidents to you and your property. |
| Outcome | Temporary or partial fixes are common; hidden moisture and structural issues may go unnoticed, leading to mold and rot. | Comprehensive inspection, moisture mapping, and restoration ensure that both the source of the leak and all resulting damage are fully addressed. |